Have you ever looked at photos of celebrities on the red carpet and wondered how their features look so sculpted and defined? While good genes and professional lighting play a part, the real secret often lies in the magic of contouring. This makeup technique might seem intimidating at first, but with the right tips and tricks, anyone can learn to contour like a pro. Whether you’re aiming for a subtle, everyday enhancement or a more dramatic, sculpted look, contouring can help you achieve your desired aesthetic.
Understanding the Basics of Contouring
Contouring, in simple terms, is all about using makeup to create the illusion of light and shadow on your face. By strategically applying darker shades to specific areas, you can create depth and definition. Conversely, applying lighter shades can bring forward certain features, making them appear more prominent.
Products and Tools
Before diving into techniques, it’s crucial to have the right tools in your makeup arsenal:
- Contour Products: Opt for matte contour powders or creams that are two to three shades darker than your natural skin tone. Avoid products with shimmer or shine, as these can reflect light and defeat the purpose of contouring.
- Highlight Products: Choose highlighters that are one to two shades lighter than your skin tone. You can select from a range of finishes, including matte, shimmer, or metallic, depending on the level of glow you desire.
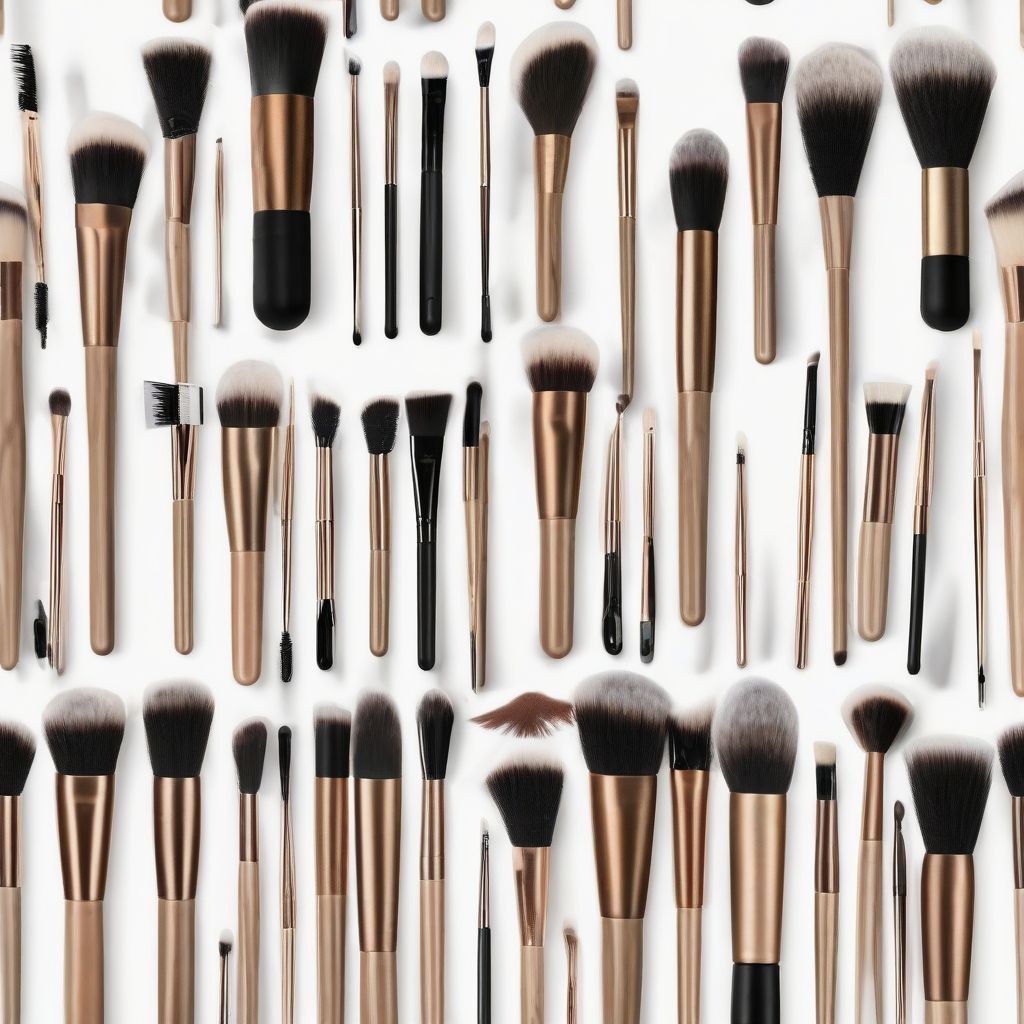
- Brushes: Invest in good quality brushes specifically designed for contouring and highlighting. Look for angled brushes for precise contour application and fluffy brushes for seamless blending.
 Contour Brush Set
Identifying Your Face Shape
One of the keys to successful contouring lies in understanding your face shape. Different face shapes require slightly different contour placement to achieve the most flattering results. Here are some general guidelines:
- Oval: Focus on subtly contouring the hollows of your cheeks, temples, and jawline.
- Round: Apply contour along the sides of your face and temples to create the illusion of length.
- Square: Soften the angles of your jawline and forehead with contour.
- Heart: Contour your temples and the sides of your forehead to balance a wider upper face.
- Long: Contour horizontally across your forehead and chin to shorten the appearance of your face.
Step-by-Step Contouring Guide
Once you have a good understanding of your face shape and the necessary products, you can begin the contouring process:
- Prep Your Skin: Start with a clean and moisturized face. Apply your foundation and concealer as usual to create a smooth canvas.
- Contour: Using an angled brush, apply your contour product to the areas you want to define or recede. This typically includes:
- Hollows of the Cheeks: Start from your ear and blend the contour diagonally towards the corner of your mouth, stopping about two finger-widths away.
- Temples: Blend the contour along your hairline, starting from the outer corner of your eyebrow and working upwards towards your forehead.
- Jawline: Apply contour along your jawline, blending downwards towards your neck to create a more defined jaw.
- Nose: If you wish to slim your nose, use a small brush to apply contour along the sides of your nose bridge.
- Highlight: Apply highlighter to the areas you want to bring forward. This usually includes:
- Tops of Cheekbones: Apply highlighter in a C-shape from the top of your cheekbones to the tail of your eyebrows.
- Bridge of Nose: Highlight down the center of your nose to create a slimming effect.
- Cupid’s Bow: Apply a small amount of highlighter to your cupid’s bow to accentuate your lips.
- Inner Corners of Eyes: Highlighting the inner corners can instantly brighten your eyes.
- Blend, Blend, Blend: Use a clean blending brush or a damp beauty sponge to blend out the contour and highlight seamlessly. Avoid harsh lines and ensure a natural-looking transition between the shades.
Common Contouring Mistakes to Avoid
Even with the best intentions, certain contouring mistakes can hinder your desired results. Here are some common pitfalls to avoid:
- Using the Wrong Shade: Choosing a contour shade that’s too dark or warm for your skin tone can result in a muddy or orange appearance.
- Skipping the Blending: Harsh lines of unblended contour can look unnatural and unflattering.
- Over-Contouring: Using too much product can make your makeup appear heavy and cakey.
- Contouring in the Wrong Lighting: Natural light is your best friend when applying makeup. Avoid contouring in dim lighting, as this can lead to inaccurate application.
Contouring for Different Skin Types
While the general principles of contouring remain the same, tailoring your technique to your skin type can enhance the results:
- Oily Skin: Opt for powder contour products, as they tend to be longer-lasting and less likely to slide around on oily skin.
- Dry Skin: Cream contour products can provide a more hydrating and natural-looking finish on dry skin.
- Mature Skin: Choose creamy contour formulas that won’t settle into fine lines or wrinkles.
Conclusion
Mastering the art of contouring takes practice and experimentation. Don’t be afraid to try different techniques and products to discover what works best for your face shape, skin tone, and desired level of definition. Remember, makeup should enhance your natural beauty, not mask it. With the right knowledge and a light touch, you can achieve a flawless, sculpted look that accentuates your best features.
[amazon bestseller=”contour-makeup-kit”]
