Have you ever looked at someone’s makeup and thought, “Wow, their skin looks amazing?” Chances are, they’ve mastered the art of highlighting. Highlighting is like giving your face its own personal spotlight, accentuating your best features and creating a radiant, youthful glow. It’s a makeup technique that adds dimension and light to the face, making you look healthier, more awake, and even more sculpted. Whether you’re aiming for a subtle shimmer or a dramatic, “lit-from-within” look, this comprehensive guide will equip you with all the makeup tips for highlighting you need.
Understanding Highlighting
Before we dive into the “how-to,” let’s quickly understand the “why.” Highlighting essentially plays with light. By applying lighter, often shimmery, products to strategic areas, you create an illusion of those areas being pushed forward. This contrasts with contouring, where darker shades create depth and shadows.
Choosing the Right Highlighter for Your Skin Tone
Just like foundation, finding the right highlighter is crucial. The key is to complement your skin’s undertone:
Fair Skin: Look for pearly or champagne shades.
Light to Medium Skin: Peachy golds or rose golds work wonders.
Olive to Tan Skin: Go for warm bronzes or golden copper hues.
Deep Skin: Rich bronzes, coppers, and even golds with a reddish undertone look stunning.
Pro Tip: Don’t be afraid to experiment! Swatch different shades on your hand to see what complements your skin best.
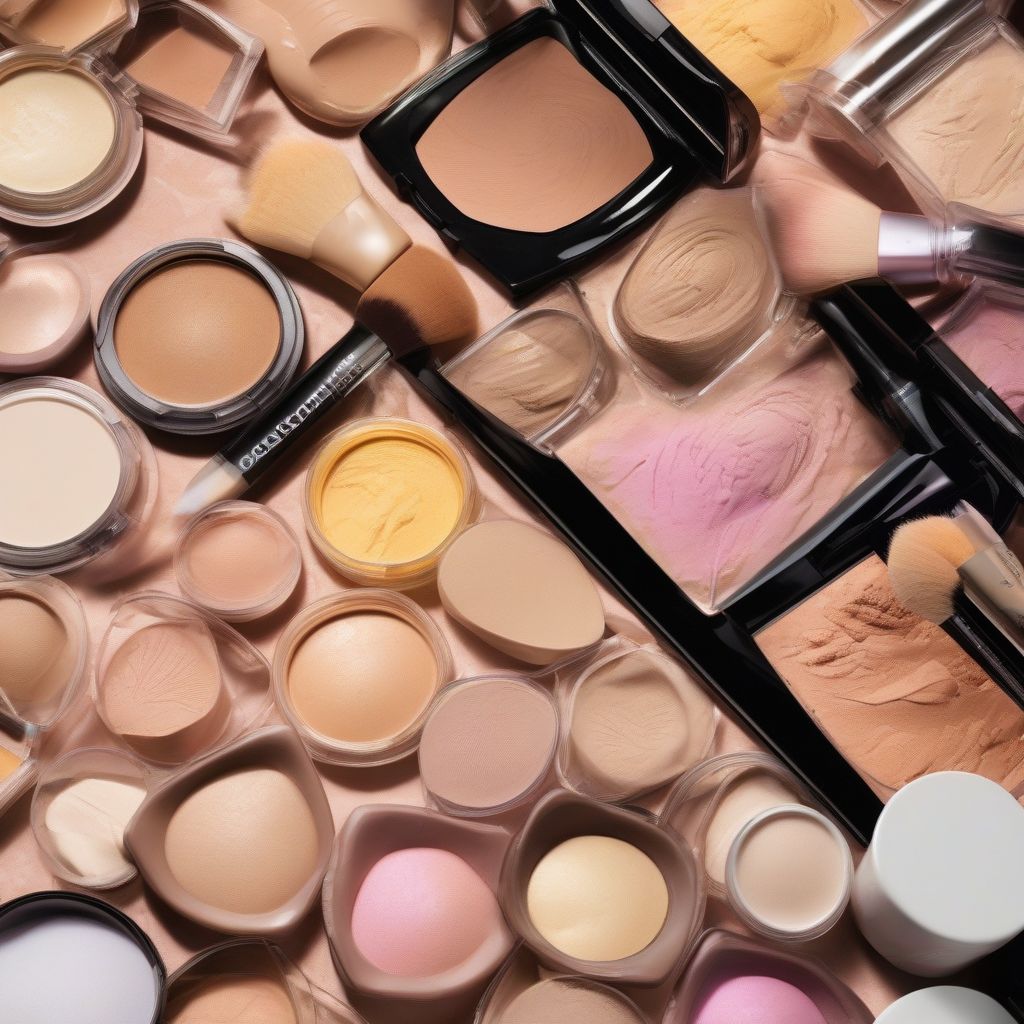
 Highlighting Products for Different Skin Tones
Types of Highlighters: Find Your Perfect Match
Highlighters come in various forms, each offering a unique finish and application method:
1. Powder Highlighters
- Best for: Beginners and oily skin
- Pros: Easy to blend, buildable, and long-lasting.
- Cons: Can emphasize texture on dry skin.
2. Cream Highlighters
- Best for: Normal to dry skin
- Pros: Creates a dewy, natural-looking glow.
- Cons: Can crease on oily skin if not set properly.
3. Liquid Highlighters
- Best for: All skin types, especially for a luminous finish
- Pros: Highly pigmented, blendable, and can be mixed with foundation for an all-over glow.
- Cons: Can be tricky to work with for beginners.
Makeup Tips for Highlighting: Where to Apply
Now, let’s map out the strategic points where highlighter works its magic:
1. Cheekbones: Apply along the top of your cheekbones, blending upwards towards your temples for a lifted effect.
2. Brow Bone: A touch of highlighter under your eyebrows instantly brightens your eyes and makes you look more awake.
3. Inner Corner of the Eyes: This brightens up your eyes and makes them appear wider and more alert.
4. Bridge of the Nose: Apply a thin line down the bridge of your nose to create the illusion of a slimmer, more defined nose.
5. Cupid’s Bow: Highlighting the cupid’s bow (the dip above your upper lip) defines your lips and makes them appear fuller.
6. Chin: A dab on the center of your chin adds fullness and balances your features.
7. Collarbone: For an extra touch of glamour, apply highlighter along your collarbone to accentuate your décolletage.
Pro Tip: Remember, less is more! Start with a small amount of product and build up gradually for a natural-looking glow.
Highlighting Techniques for Different Looks
Mastering different highlighting techniques lets you customize your look:
1. Subtle Shimmer: For an everyday glow, use a small, fluffy brush to apply a powder highlighter lightly to the high points of your face.
2. Intense Glow: For a more dramatic effect, layer a cream or liquid highlighter under a powder highlighter.
3. “Lit-From-Within” Skin: Mix a few drops of liquid highlighter with your foundation for an all-over radiant finish.
4. Strobing: This technique involves using highlighter more liberally to create a sculpted, luminous look. Apply highlighter to all the key areas mentioned above and blend well.
Pro Tip: Always blend your highlighter seamlessly into your skin or foundation to avoid any harsh lines or streaks.
Common Highlighting Mistakes to Avoid
Even with the best makeup tips for highlighting, mistakes can happen. Here’s how to steer clear of common pitfalls:
1. Using the Wrong Shade: A highlighter that’s too light or dark can look unnatural.
2. Applying Too Much Product: Start slow and build as needed.
3. Skipping the Blending: Blended edges are key to a seamless finish.
4. Applying Shimmer Everywhere: Focus on the high points of your face for a balanced look.
Expert Tips for Flawless Highlighting
- Prep your skin properly: Exfoliate and moisturize to create a smooth canvas.
- Choose the right tools: Use soft, fluffy brushes for blending.
- Work with your skin type: Oily skin types may prefer powder formulas, while dry skin types may find cream or liquid highlighters more hydrating.
- Set your makeup: Use a setting spray to keep your highlighter in place all day long.
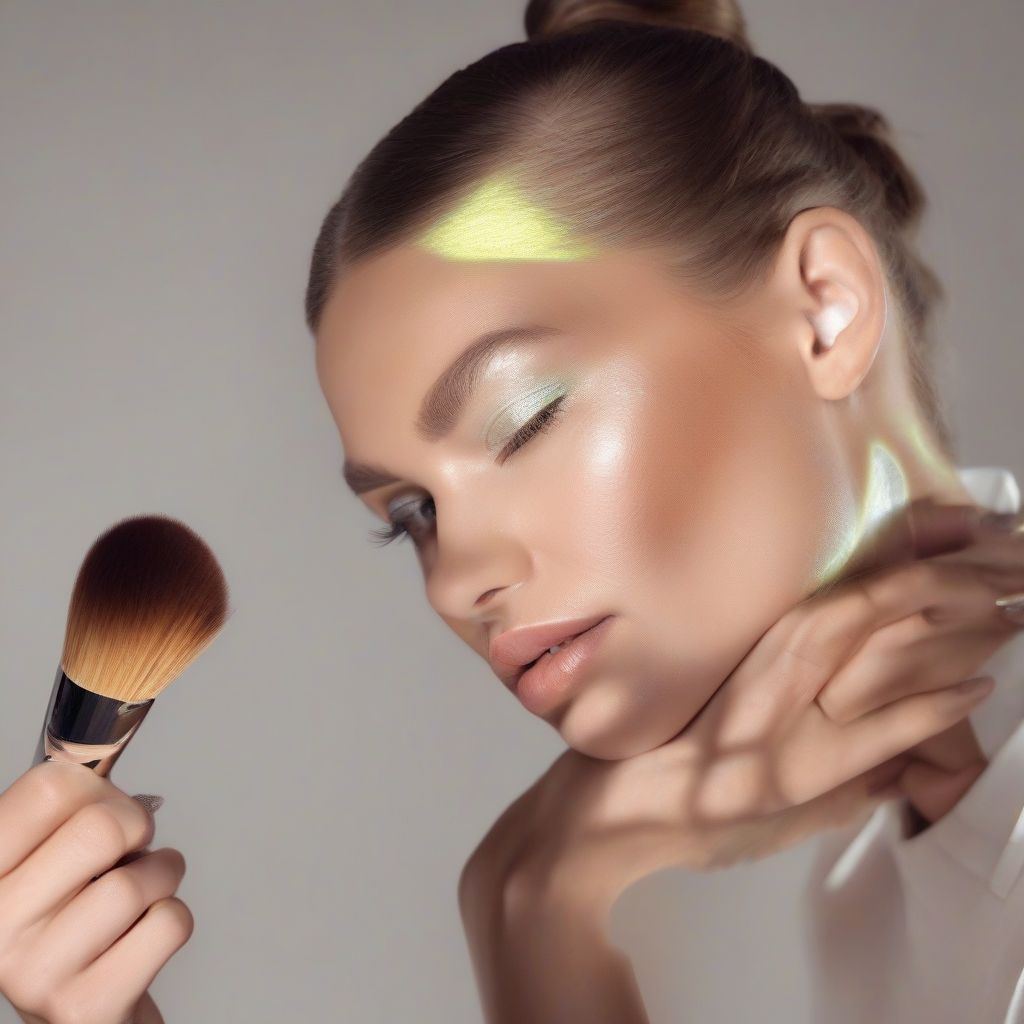
 A Woman Highlighting Her Cheekbones
Conclusion: Shine Bright with Confidence
Highlighting is more than just a makeup step; it’s a way to enhance your natural beauty and radiate confidence. By understanding the different types of highlighters, application techniques, and common mistakes to avoid, you can master the art of highlighting like a pro. Remember, the key is to choose products that complement your skin tone and blend, blend, blend! Experiment, have fun, and let your inner glow shine through!
Looking for more makeup tips to enhance your features? Check out our guides on makeup tips for thin lips and makeup tips for contouring for a complete makeup transformation.
[amazon bestseller=”highlighter makeup”]
